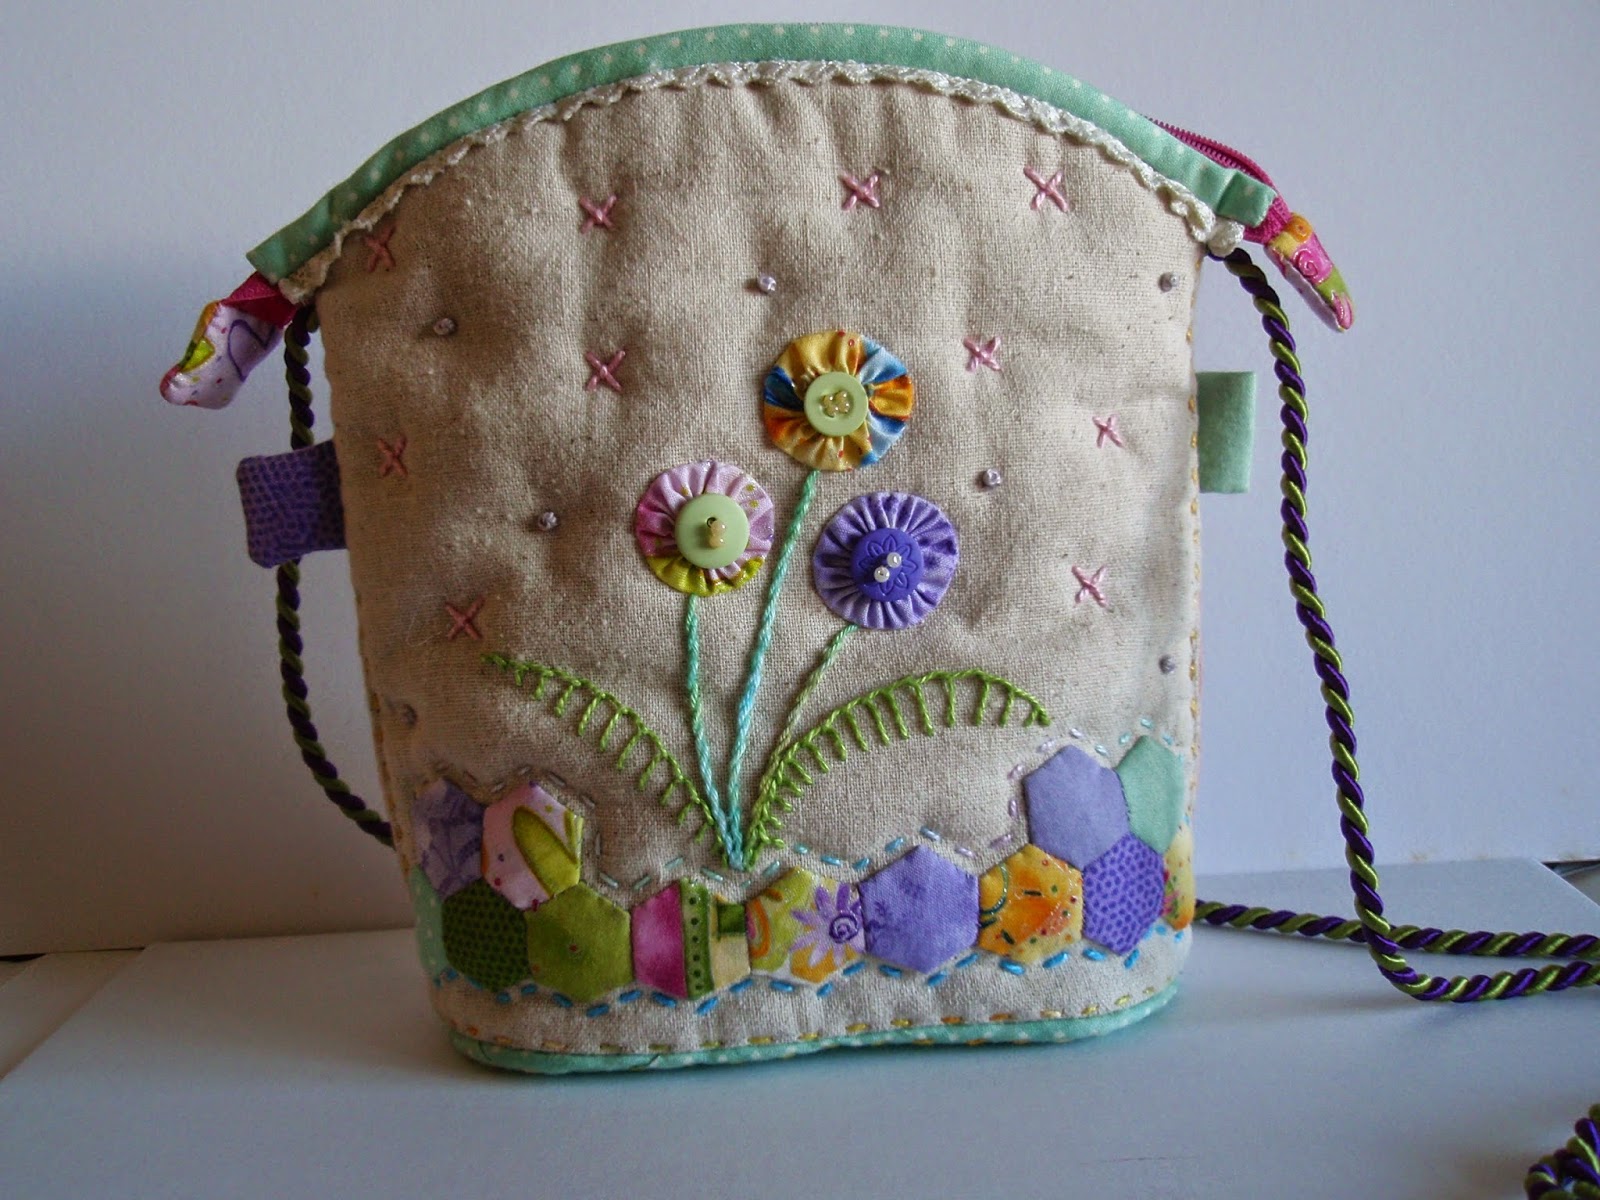
Today I'm linking to Crazy Mum Quilts for "Finish it up Friday" with two small projects I stitched this week.
Firstly .....
 |
| Finish size: 4" x 3" |
I'd been trying to think of a way of keeping my lipstick safe when I 'm not carrying a handbag, and then I found a great blog (via Pinterest) .... "Dog Under My Desk" by Erin Ericson, which had the ideal thing ... an easy zippy pouch tutorial.
I made my pouch in two evenings. First evening I quilted the fabric and the next I was ready to put it all together.
I'm really pleased how it turned out, it's light, and at 4" x 3" ... tiny ..... just right to hold a lipstick and maybe a few peppermints!
I made my pouch in two evenings. First evening I quilted the fabric and the next I was ready to put it all together.
I'm really pleased how it turned out, it's light, and at 4" x 3" ... tiny ..... just right to hold a lipstick and maybe a few peppermints!
**********
Then, secondly .....
Later in the week I needed a hostess gift for a neighbour, and made this tissue holder using a tutorial I've previously used here from Whim Wham.
Whilst making the tissue holder I took a few pictures to remind myself how I made it .... in case I want to make another one in a hurry! Unfortunately, my photos are rather dark as I was stitching in the evening!
Later in the week I needed a hostess gift for a neighbour, and made this tissue holder using a tutorial I've previously used here from Whim Wham.
Whilst making the tissue holder I took a few pictures to remind myself how I made it .... in case I want to make another one in a hurry! Unfortunately, my photos are rather dark as I was stitching in the evening!

 |
| Position the handle, and .... |
 |
| ... stitch into place |

To ensure the centre stayed central when I stitched across the seam, I stitched each half separately, and then again across the two sides together.


 |
| The pin marks the centre ... fold edge just past pin. |
 |
| Remembering to put one bound edge over the other, before stitching |
 |
| Stitch to edge. With needle in the fabric, lift presser foot, turn fabric 180 degrees, continue stitching for approx 1" before finishing, and cutting off thread. |
 |
| Make sure the handle is securely stitched! |
 |
| Finish with a scant 1/4" seam |
 |
| Stitch over the seam a couple of times. |
Trim ends, before turning inside out.....
 |
| Push seams out, pin, and stitch 1/4" seams at either end of holder - again a couple of rows of stitches to be secure. |
Turn through to the right side, and its finished!
**********
I'm so excited, before I go, I must tell you why!
Last Saturday I went to a wonderful quilt show, locally, and bought some raffle tickets .... like you do! .... and this Tuesday I had a phone call to say I'd won a quilt!!! This morning a very nice lady was actually good enough to deliver it to me ..... I have to say I was speechless - well almost! I'm amazed, I can't believe it wasn't the first prize, its so beautiful and very large. The work is really intricate and skillfully done ... and all hand quilted!
I didn't have time for photos today, but I will post pictures next time. Just wait till you see it!
Hope you've had a stitchy week!
Hugs,
Barbara xxx